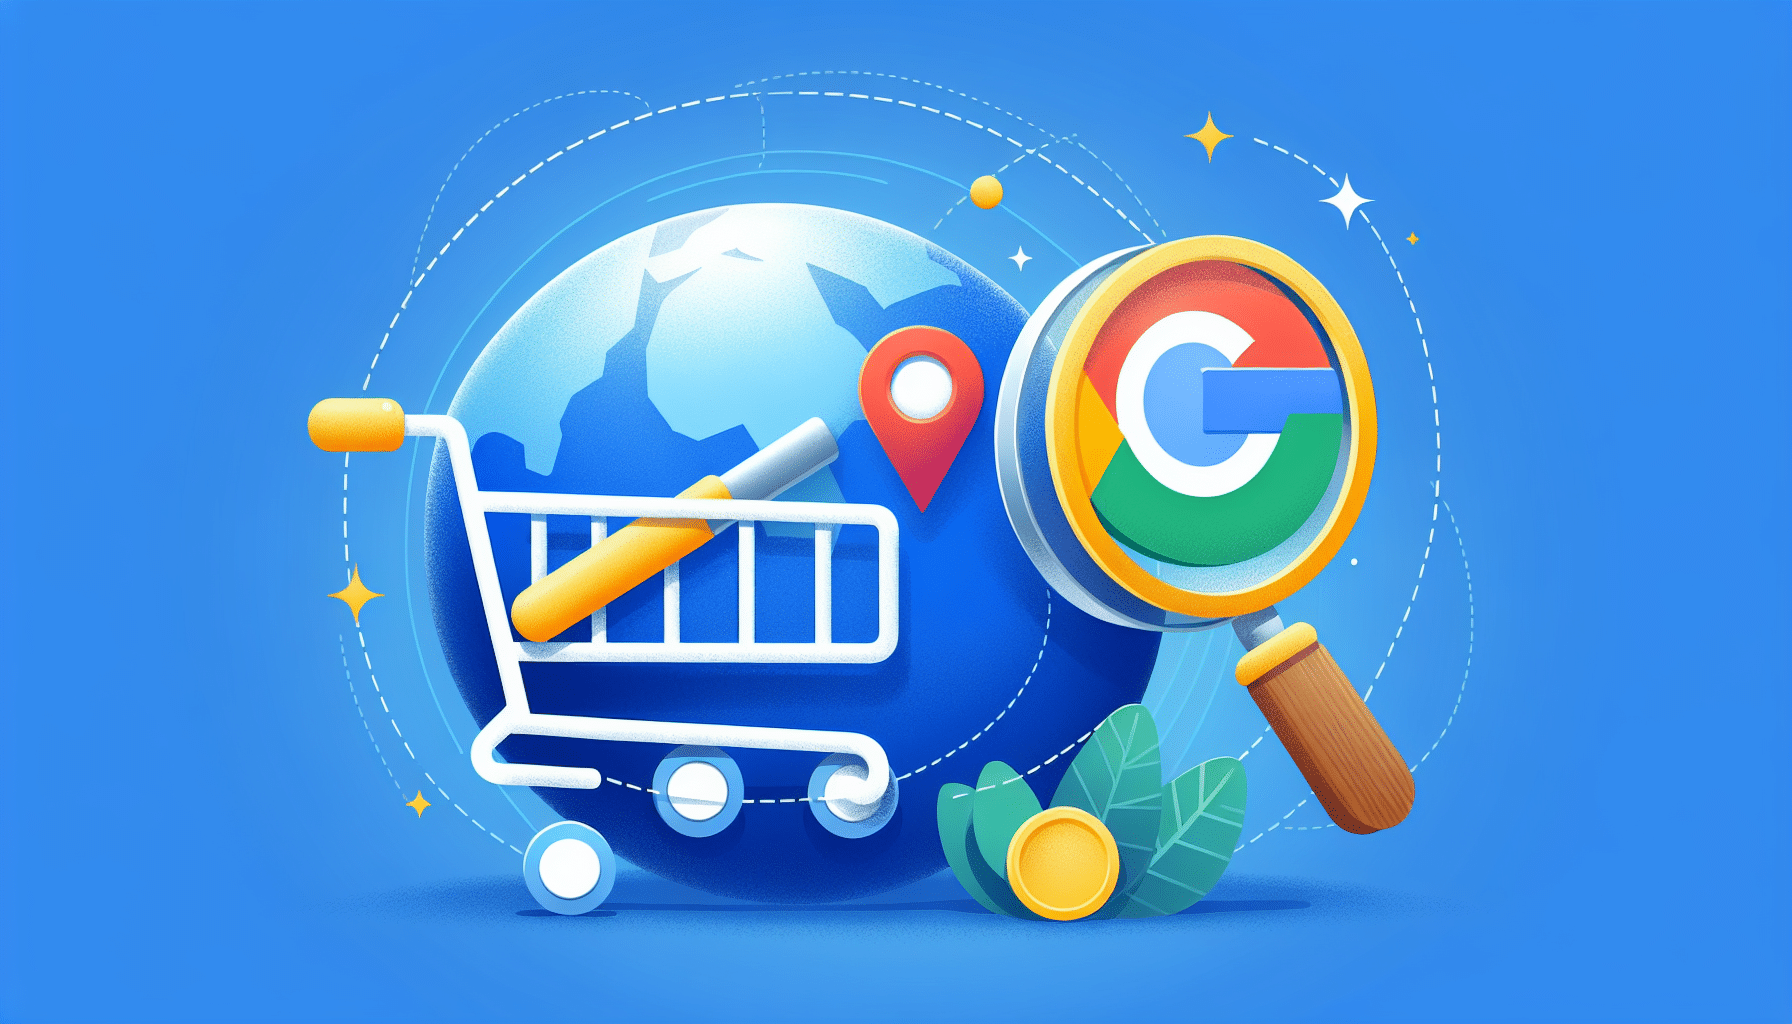
Integrating WooCommerce with Google Merchant Center can enhance your online store’s visibility, allowing you to reach more potential customers. Here’s a step-by-step guide to help you set it up seamlessly:
Step 1: Set Up Google Merchant Center
First, create a Google Merchant Center account at Google Merchant Center. You’ll need to enter your business details and verify your website.
Step 2: Install Necessary Plugins
To connect WooCommerce to Google Merchant Center, you can use a plugin like “Google Listings & Ads” or “WooCommerce Google Product Feed.” Install and activate your chosen plugin from your WordPress plugin directory.
Step 3: Configure the Plugin
Once installed, navigate to the plugin settings to configure it. You’ll need to connect it to your Google account and synchronize your WooCommerce store with Google Merchant Center. Follow the on-screen instructions to authorize access.
Step 4: Create and Optimize Product Feed
Create a product feed within the plugin settings. Ensure to include essential product data like product title, description, price, and availability. Optimize these attributes for search by using relevant keywords to increase visibility and performance on Google Shopping.
Step 5: Submit Feed to Google Merchant Center
After generating the product feed, submit it to Google Merchant Center. Regularly check your feed for errors or issues that need correction to maintain good standing with Google policies.
Step 6: Monitor Performance
Consistently monitor your product listings’ performance through Google Merchant Center insights. This can help identify top-performing items and areas that require improvement, optimizing your product listings effectively.
Conclusion
By effectively linking WooCommerce with Google Merchant Center, your products gain greater exposure to potential buyers. With some initial setup and ongoing optimization, you can maximize the potential of your WooCommerce store in the Google Shopping ecosystem.